

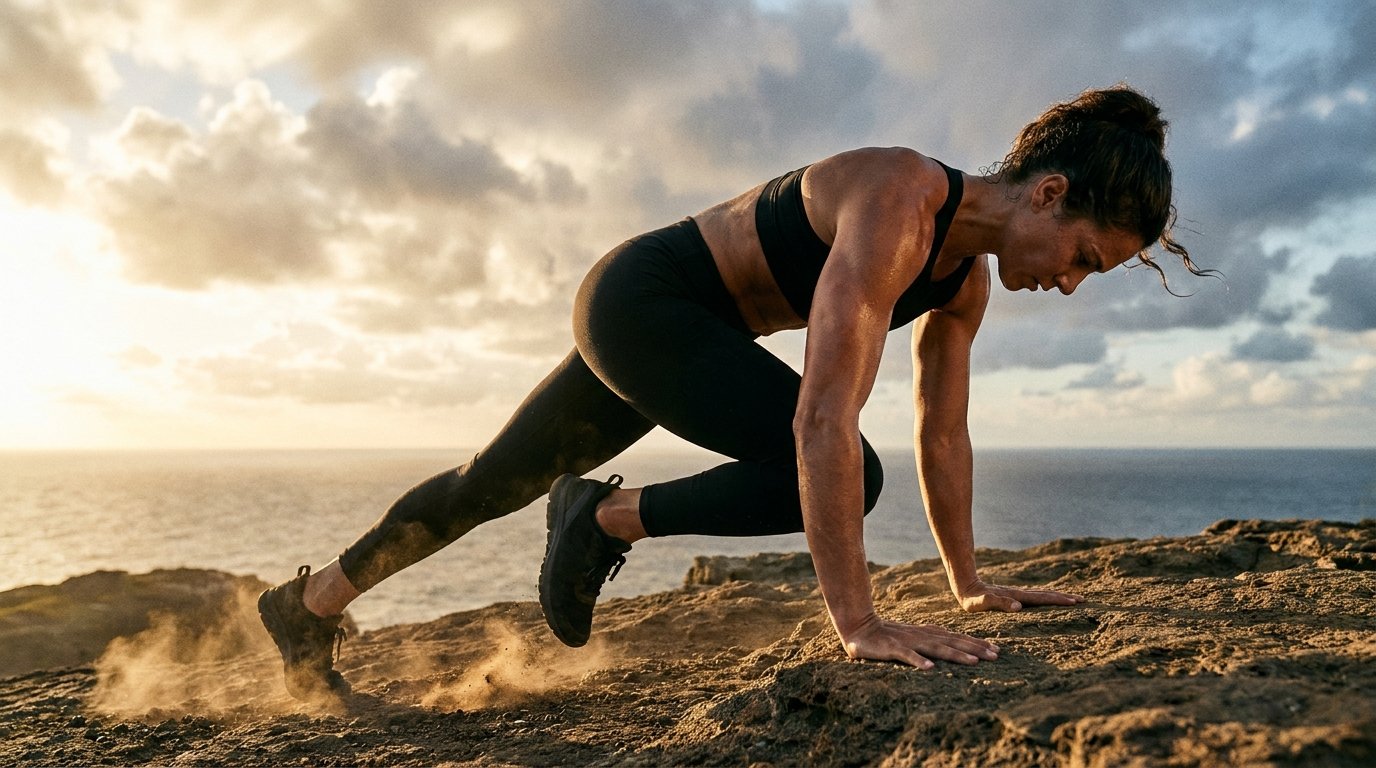
The short answer: Learn a controlled plank and alternating knee drive before adding pace or changing the knee path. The eight options below vary tempo, stance, rhythm, or leg movement; they are not eight scientifically distinct exercises. No equipment is needed. Use a standing substitute when floor loading is unsuitable, and stop with pain or instability.
| Option | The actual change | Make it easier |
|---|---|---|
| 1. Slow alternating | One controlled knee drive, reset, then switch | Shorter drive and fewer repetitions |
| 2. Paused | Brief comfortable pause with the knee forward | Remove the pause |
| 3. Cross-body | Knee moves slightly toward the opposite side | Smaller diagonal or straight drive |
| 4. Outside-path | Knee travels a little outside the arm line | Narrower path; no elbow target |
| 5. Same-side pair | Two controlled drives on one side before switching | One per side |
| 6. Wider-base | Feet start and return slightly wider | Return to ordinary comfortable stance |
| 7. Hover-return | Moving foot briefly hovers near its return position | Put the toes down fully each time |
| 8. Controlled running | Quicker alternating changes with brief foot contacts | Slow down and reset between sides |
Start with the base movement
Use a clear, nonslip floor. Place hands around shoulder-width apart and find a manageable high-plank position with arms supporting you, trunk controlled, and legs extended. Keep your neck comfortable rather than craning up. There is no need to make a rigid photographic shape if that means holding your breath or straining.
Bring one knee forward within a comfortable range, return that foot, then switch. The Royal Berkshire NHS exercise-class handout describes the base movement as alternating knees toward the chest from a press-up position.[1] It does not validate eight variants, a particular core activation figure, or a calorie outcome.
Stop with pain, feeling unwell, or inability to control the position. NHS suitability guidance applies where injury or symptoms make exercise uncertain.[2] If hands-and-feet support is not manageable, do not force it because the exercise is common.
The eight options in usable detail
1. Slow alternating mountain climber
Move one knee forward slowly, pause only long enough to reverse smoothly, and put that foot back before moving the other. Keep the hips from swinging simply to make the knee travel farther. Try a few controlled alternations rather than filling a long timer.
This is the reference version for the others. Shorten the range or end the set when the trunk position becomes difficult to maintain.
2. Paused mountain climber
Use the slow version, but briefly hold the forward knee position—about one comfortable breath or less—before returning. Do not pull the knee farther just to create a stronger sensation. The pause changes time under support, so use fewer repetitions if needed.
Remove the pause immediately if it makes you hold your breath, sag, or rush the return.
3. Cross-body mountain climber
Bring the knee gently toward the opposite side of the body rather than directly forward. The diagonal can be small; touching the opposite elbow is not a target. Keep the movement controlled instead of throwing the hips around.
Return to a straight knee drive when the diagonal causes discomfort or loss of position. This variation is not a promise to reduce side-waist fat.
4. Outside-path mountain climber
Bring the knee a little toward the outside of the same-side arm, then return. Use only the width you can control. You do not have to touch the elbow, open the hip maximally, or place the foot beside the hand.
Choose a narrower path if the position feels forced. An outside path is an option, not an advanced mobility test.
5. Same-side pair
Drive and return the same knee twice, placing the toes down between repetitions, then switch sides. This changes the rhythm and time supported on the other leg. Keep the range from your slow version.
Regress to one repetition per side if the paired rhythm makes one side feel overloaded or reduces control. There is no requirement to complete a fixed pair when a single repetition is enough.
6. Wider-base mountain climber
Start with your feet a little farther apart than your ordinary comfortable plank stance. Drive one knee and return it to that starting width before switching. Do not widen into a forced stretch or let the stance hide collapsing hips.
The change is the starting and return stance, not a claim of greater effectiveness. Return to your ordinary stance if the wider position feels less controlled.
7. Hover-return mountain climber
For people already comfortable with the base: after a knee drive, return the leg toward plank but keep those toes briefly just off the floor, then set them down before switching. The hover is small and optional; do not extend the leg high or arch the back.
If the brief reduced support makes the position unstable, use full toe contact every time. This is not a required milestone.
8. Controlled running mountain climber
Alternate at a quicker rhythm with brief foot contacts while maintaining a manageable range. Start only after slow repetitions feel controlled. Faster does not mean frantic; stop before bouncing or sliding makes the movement unpredictable.
Slow down or reset between sides when needed. There is no minimum speed and no proof that this option is better than the slow version.
A small practice protocol
After a few minutes of easy preparation, choose one or two options, not all eight. Try 10–15 seconds of controlled practice, then recover comfortably for around 45–60 seconds or longer as needed. Repeat once if the first set was manageable. These intervals are editorial examples, not a tested prescription.
A standing substitute is alternating knee lifts with an upright comfortable stance and no floor support. It is deliberately not counted as a ninth mountain climber or one of the eight floor options. Smaller lifts or light wall assistance may help where suitable.
Leave recovery between challenging same-muscle sessions, consistent with general Mayo strength guidance.[3] Count push-ups and other demanding plank work too. The push-up routine explains overlapping pressing workload; the beginner calisthenics guide gives broader planning context.
Progress by improving one feature—control, a little practice time, or a different option—not all at once. For conditioning structure without compulsory floor work, use the 20-minute interval guide.
FAQ
Are these eight completely different exercises?
No. They are eight explicitly described ways to vary a shared movement. Tempo and rhythm changes count as options, not claims of unique muscle targeting or separate scientific validation.
Do I need sliders or a bench?
No. None of the eight uses sliders, a chair, or an incline. Keep the floor nonslip rather than adding unstable equipment to make the list harder.
Will they reduce belly fat?
This article makes no targeted-fat-loss claim. A knee-drive exercise does not establish a predictable change in a specific body area.
Should my knee reach my elbow?
No. Choose a controllable range. Elbow contact is not a form requirement and should not be forced through hip or trunk movement.
What if my wrists hurt?
Stop the provoking movement and use appropriate advice for recurring symptoms. Do not assume another floor variant treats the cause; the standing substitute may be a different activity, not a remedy.