


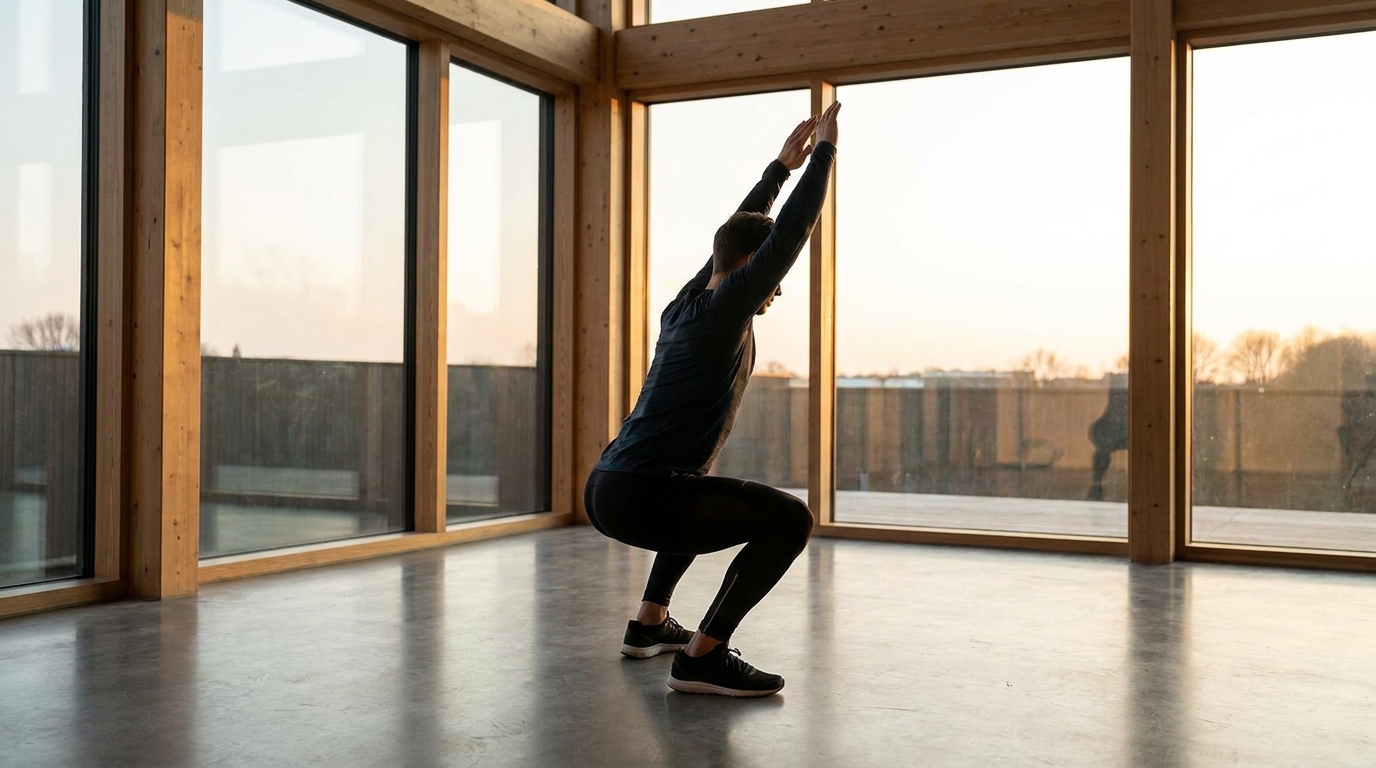
The short answer: Use eight minutes to move gently through a few comfortable ranges, not to force a deeper stretch. Start with easy movement, work smoothly, and choose smaller motions whenever you feel uncertain. The clock is a convenience: eight minutes is not a proven minimum dose, an injury-prevention promise, or a treatment for stiffness or pain.
This sequence is an editorial routine built around general NHS and Mayo Clinic guidance to start gently, build slowly, and avoid painful or bouncing stretches.[1,2] It is not a clinically tested mobility program. If you have symptoms, an injury, or uncertainty about exercise suitability, seek appropriate advice before starting; stop immediately if you feel pain or unwell.[3]
For the definitions behind the routine, see mobility versus flexibility. Here the aim is simply to practice controlled movement through a range that feels comfortable today.
Before the timer starts
Clear enough floor space to move without hitting furniture. Use a nonslip surface. The optional floor segment needs a comfortable mat or carpet; you can replace it with the standing alternative below. A stable wall is useful for balance. Do not rely on a chair that can slide or tip.
Begin at a gentle pace. Mayo Clinic advises warming up with light movement before stretching.[2] The first two minutes below provide an easy movement lead-in, but they are not a universal guarantee that you are warmed up. If you have been sitting still or feel cold, walk gently for longer before starting the eight-minute timer. This is not a full sport-specific warm-up before an intense session.
Choose a range that feels easy to control. Mild stretch tension is different from pain; ease back rather than pushing through.[2] Do not aim for cracking, a burn, or a photo-worthy position.
The eight-minute clock
Every row occupies exactly one minute, including the short changeover. If you need more transition time, move for less time within the same minute. Never rush to stay on schedule.
| Timer | Movement | Use the minute this way |
|---|---|---|
| 0:00–1:00 | Easy march or relaxed walk | 50 seconds easy movement; 10 seconds to settle. |
| 1:00–2:00 | Gentle side steps with relaxed arm swings | 50 seconds of small steps and easy arm movement; 10 seconds to change position. |
| 2:00–3:00 | Shoulder rolls and low arm sweeps | 20 seconds small shoulder rolls, 20 seconds comfortable arm sweeps below shoulder height, 20 seconds to relax and change. |
| 3:00–4:00 | Standing upper-body turns | 20 seconds gentle turns each way, alternating sides throughout the 40-second movement period; 20 seconds to settle. |
| 4:00–5:00 | Wall-supported ankle rocks | 20 seconds with the left foot forward, 10 seconds to switch; 20 seconds right foot forward, 10 seconds to change. |
| 5:00–6:00 | Small standing hip hinges | 40 seconds of slow repetitions; 20 seconds to move carefully to the floor or set up the standing substitute. |
| 6:00–7:00 | Small-range cat–cow, or standing supported back movement | 40 seconds of gentle movement; 20 seconds to return carefully to standing or remain resting. |
| 7:00–8:00 | Easy walk and check-in | 40 seconds relaxed walking; 20 seconds standing or sitting comfortably and noticing how you feel. |
Total: eight one-minute blocks = 8:00. Movement time is shorter than eight minutes because transitions and rests are included. A paused timer makes the session longer; that is fine. If you stop for symptoms, the priority is stopping, not completing the clock.
How to perform each movement
Easy march and side steps
March with small steps or walk around a clear space. Keep breathing comfortable. For side steps, move one foot sideways and bring the other toward it without crossing your feet. Let your arms swing naturally; do not throw them to create a larger range.
Easier option: use smaller steps, stand near a secure support, or perform gentle seated marching on a stable chair. If balance feels uncertain, do not progress to unsupported stepping just because the next minute has arrived.
Shoulder rolls and low arm sweeps
Make small shoulder circles without forcing your neck. Then sweep your arms forward and outward through an easy range below shoulder height. Keep the movement light rather than lifting or shrugging hard.
Easier option: move one shoulder or arm at a time and reduce the circle. There is no need to work overhead.
Standing upper-body turns
Stand comfortably and turn your chest gently left, then right. Keep the motion small and allow your body to move naturally; do not lock your pelvis and wrench your spine. Look in the direction you turn without snapping your neck.
The table's 20 seconds per direction means an equal share of the 40-second period, not a long forced hold. Move back and forth slowly.
Easier option: sit upright on a stable chair and use a smaller turn. Skip the movement if it produces pain or dizziness.
Wall-supported ankle rocks
Face a wall and place your hands against it for light support. Put one foot a short distance forward. Keeping that heel on the floor, gently move the knee forward within a comfortable range, then return. Switch feet halfway through the block.
Easier option: use a smaller forward movement. Do not force your knee to touch the wall or lift your heel to reach a target. No rack, band, or special equipment is required.
Small standing hip hinges
Stand with soft knees. Move your hips back slightly while letting your torso tip forward, then return to standing. Keep the motion small and your breathing easy. This is practice controlling a hip movement, not a maximum hamstring stretch or a strength test.
Easier option: shorten the movement and stand beside a secure support. If you are unsure about the hinge, repeat an easy minute of walking instead.
Small-range cat–cow or a standing substitute
If comfortable on hands and knees, place hands under shoulders and knees under hips. Gently alternate a small rounding and releasing of your back, keeping your neck relaxed. Do not force a deep arch or hold your breath.
Easier option: remain standing with your hands resting lightly on your thighs, knees soft. Make a very small rounding and return toward your comfortable starting position. If either version is uncomfortable, replace it with relaxed standing or walking. Floor work is optional, not the goal of the routine.
Repeat before making it harder
Try the sequence when it fits your day and note which movements felt comfortable. Repeat the same small ranges before expanding them. You do not need to increase range at every session or turn this into a daily streak.
When the routine feels familiar, improve control first: smoother movement, less rushing, or easier transitions. If you want a longer session, add a separate block later rather than pretending this eight-minute timer still applies. The stretching myths guide explains why stronger claims about stretching need more context.
FAQ
Is this enough before strength training?
Not necessarily. This is a gentle standalone introduction. Before a harder session, prepare for the movements and demands of that workout rather than relying on the same short sequence every time. The beginner calisthenics guide provides broader training context.
Should I hold every position?
No. Most of this routine uses small, continuous movements. Do not add long static holds and still call it the same timed routine. NHS examples include exercise-specific holds, not a single timing rule for every joint or stretch.[1]
What if I cannot get onto the floor?
Use the standing alternative or replace that minute with easy walking. Take any transition slowly. The sequence remains eight minutes if the replacement occupies the same block; reaching the floor is not a requirement.
Does discomfort mean I need more mobility work?
No. Pain is not a diagnosis or proof that you should stretch harder. Stop the provoking movement. Persistent or recurring symptoms deserve qualified assessment rather than repeated attempts to loosen the area.[3]
Can I use this on a rest day?
You can consider gentle movement if it feels appropriate, but it is optional. Keep the effort easy rather than converting a recovery day into another demanding workout. See the active recovery guide for the broader question.
References
- NHS — Flexibility exercises. Gentle movement and gradual progression; exercise-specific examples.
- Mayo Clinic — Stretching: Focus on flexibility. Warm up first, move smoothly, avoid bouncing and pain.
- NHS — Strength and Flex exercise plan: How-to videos. Suitability and stopping exercise for pain or feeling unwell.